Showing posts with label DIY. Show all posts

Thursday, March 21, 2013

My Journey to Wellness: Beauty Discoveries I Found In My Kitchen!

I have not been this passionate about something since I don't even know when so you're going to have to put up with this blog taking a serious turn to green!  Some of my favourite discoveries so far have been found in my very own kitchen cupboards! These are my top 4 but I'll keep em coming as I find more...

1. Organic Coconut Oil - There is a reason this is number one. This stuff is AMAZING!  Thank-god for coconuts! I use it for cooking, I use it as a dry scalp treatment (by heating some up and rubbing it into my scalp and leaving it on for as long as I can stand it before washing out and it's been the only thing to clear up my unsightly flakes), a moisturizer for my hands, feet, and body, a cheek highlighter (it makes them shimmer better than any highlighter cream I've tried) , and most recently a facial cleanser! Yes, you heard me correctly.  I cleansed my oily skin with oil last night.  It was scary and I was skeptical but I think I may have discovered that oil cleansing is going to change my life.  Maybe. The verdict is still out so I'm not going to make any rash statements here but I'll let you know how it goes... It's definitely a great eye make up remover though, so get rid of the stuff you're currently using... like now.  It likely contains carcinogenic chemicals and endocrine disruptors.  Thanks again Lancome!  Really appreciate it.

2. Raw Organic Honey - Hmmm…it's not just delicious, it's also antibacterial and great as a face wash!  It's not going to take any makeup off, you'll have to do that first but it's lovely for a gentle morning cleanse or a weekend face mask.  Just wet your face to open up your pours and rub a tbsp of honey in your hands and then massage it in. It smells incredible and I like to lick my lips the whole time.  I even added a little bit of baking soda once to give it some exfoliating suds and my skin loved it.  This is where I got the idea and I trust anything these women say.  I'll say it again…. No More Dirty Looks changed my mother f$%&^ing life! Why do we use harsh chemically filled cleanser to strip our face of all it's natural oils only to put the oils back onto our face with moisturizer that also contains toxic sludge? Why not skip the harsh cleanser?

3. Aloe Gel -  It soothed my itchy scalp and calmed my frizzy hair... It's a miracle plant with so many uses...everyone should have one.

4. Corn Starch - A natural dry shampoo that works just as well as the toxic store bought ones.  This stuff is key in my routine! I think it actually works better than my Klorane Dry Shampoo (that by the way has propane in it which isn't even the worst part).  I'm trying to limit my hair washing to a couple times a week and this stuff really makes that possible.  I sprinkle it all over my roots..rub in, and brush…  Instant shine, no grease, and a volume boost!  I experimented with the "no 'poo" method of washing with water and baking soda and rinsing with apple cider vinegar and I think it was a good thing to do for a few weeks as a sort of detox for your hair but I like shampoo too much to cut it out altogether. Not a big fan of the scent of vinegar in the morning... There are lots of clean shampoos out there but make sure you read the ingredients cos a lot of them aren't what they claim to be…even at health food stores I've seen 'parfum' or 'fragrance' on the label which is often just a code name for a hundred toxic ingredients that they won't disclose. SHAME! You'd have to call the manufacturer to be sure...but I just avoid them cos I'm too lazy to make the call and if you're keeping ingredients from me I'm not interested in your product.


So much fun right? Right?? I love sticking it to the man! The cosmetic industry would never tell you that you can get the results that your hundred dollar face cream gives you with a jar of coconut oil! Give some of these a try and let me know how it goes… : )  Do you have any natural remedies we should know about??? Post them in the comments below. : )

Thanks for reading... : )
Love Desiree Pin It

Tuesday, October 30, 2012

Frightful Hair Clips for the 9 to 5er...

Remember Halloween in elementary school when you'd go home at lunch to change into your costume and then come back for the Halloween dance?  SO much fun right?  Well it's not like that anymore...(unless you work somewhere "creative"); in the real world Halloween at work is just not that fun...but fear not, I think I have a solution.  These scary hair clips are festive enough to put a jump in your step but classy enough that people will continue to respect you while you're wearing them.

So this is what you need... 
 
Go to the dollar store and buy:
-plastic skeleton hands or another Halloween inspired piece. (Maybe bones, or spiders?)
-piece of felt
-hair clips

Go to an office supply store and get some super glue...or if you have a glue gun, even better.

Glue a little piece of felt where you want to attach the clip and then glue the clip to the felt.

If you don't have long hair...perhaps a broach would be better?  That's classy too and be sure to wear all black. 

And there you have it...Halloween for a working stiff!

Good luck!


Pin It

Tuesday, May 15, 2012

Our Lovely Little Garden Shed: A Makeover Story

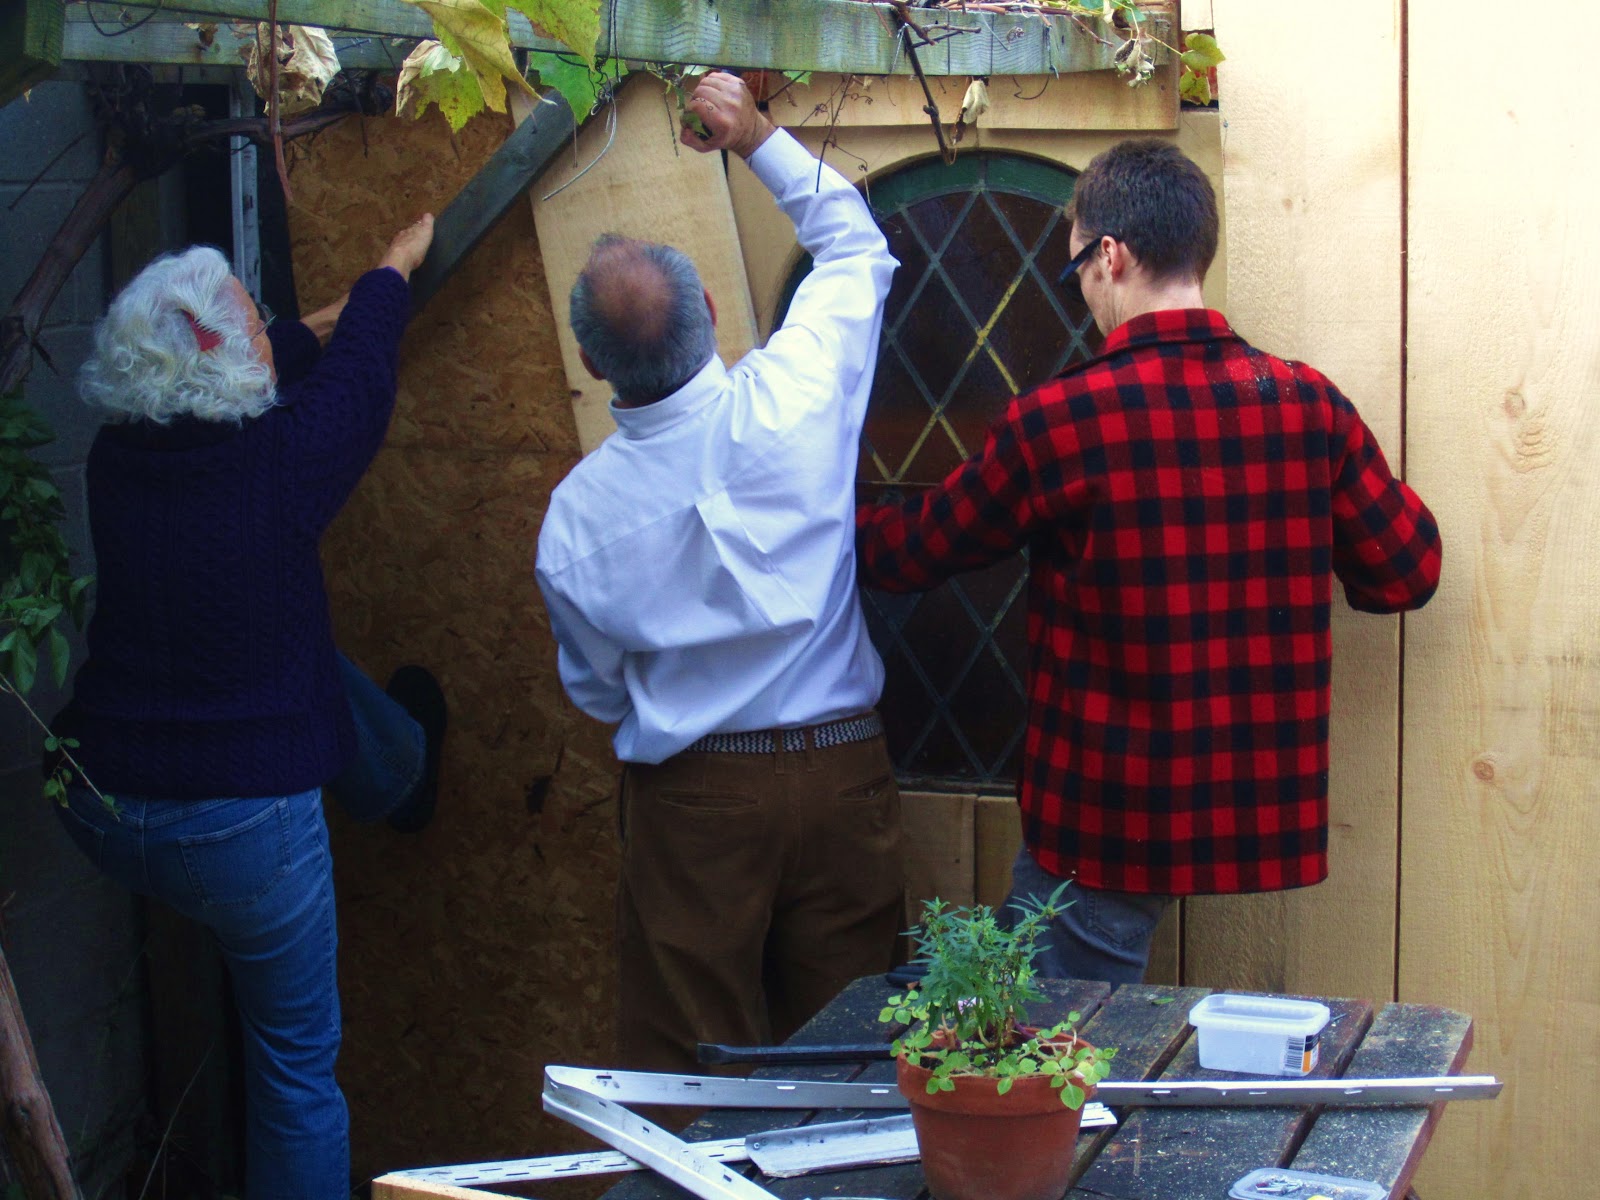
Our little shed has been in some serious need of love ever since we moved in a few years ago but it wasn't until last fall that we began a project that we hoped would breath new life into this tired looking structure, make it more useful to us, and give our backyard a character boost without spending a ton of money.  I think we're ready to show off our efforts and I'm quite pleased with the results so far.  There's still some finishing touches but I just can't wait any longer to show you! 

Here's the before picture.....ugly.


And now...the after!

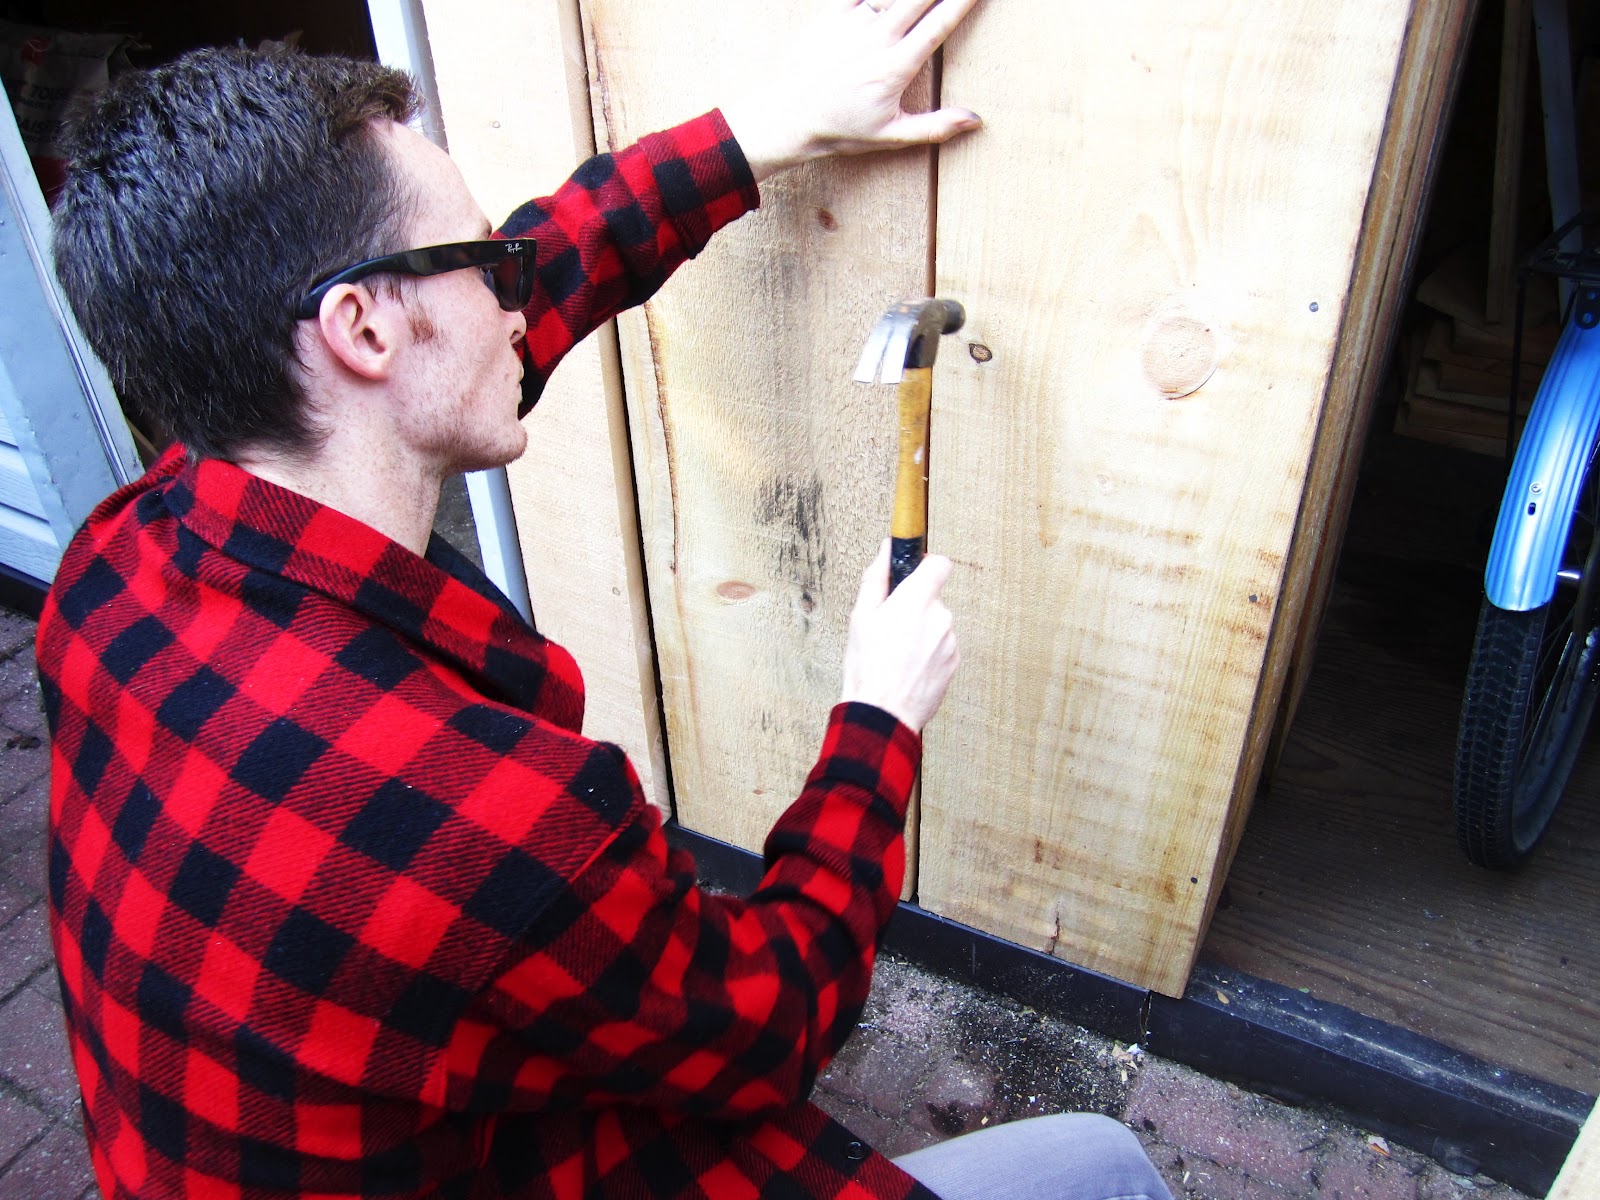
  Isn't it pretty? It's going to look so nice when the grapevine grows in!  It's been a team effort which makes it all the more special to me.  A lot of love went into this shed...a lot of male bonding : ) (p.s the stain glass window was a street find and the door was also a hand-me-down)

And here's a few pics I took to document the whole process...


And a few more pictures to show off ... : )


Thanks for reading!
Love Desiree

Pin It

Saturday, April 21, 2012

Crafty How To: Animal Jars

Have you ever wondered... "Hey, what could I do with a bag of plastic animal figures?" No?  Well I have.  This little project cost approx. 10 dollars but most of that was for the spray paint and super glue and I have lots of that left.


What you will need:
Plastic animal figures in any variety, I used horses  (available at any dollar store)
Glass Jars with lids (I bought three from the dollar store, but I've also been saving pickle jars, pesto jars etc. to do this again)
Spray Paint (the kind that will stick to plastic)
Super Glue

Step 1: Spray paint your animals and jar lids and let dry a few hours (I stood mine up in a pizza box outside and did three coats)
Step 2. Super Glue the feet of your animals to the tops of the lids

You're done!  Now you have cute little jars perfect as a hostess gift filled with nuts or spices, or bath-salts etc. but seriously there is SO much you could do with this idea.  Dinosaurs on jars for a little boys room??? Farm animals??? The options are endless.  I even saw one idea somewhere on the net where you carve out a whole in a larger animals back and make it a effing candle holder or a planter for a succulent! HA! Man I love crafts.

I have a couple horse lovers in mind for these ones...and I just gifted one filled with candy for my brother-in-law for his birthday...


Happy crafting!

Love Desiree
Pin It

Saturday, January 21, 2012

DIY: FAIL

I have a confession to make...despite my weekly Inspire Me Thursday posts I'm feeling desperately uninspired.  I have moments of inspiration but they are fleeting and lead to lots of unfinished projects that lay around my house starring me down making me feel like a crafting failure!

For example...last weekend I decided to follow this tutorial to make these pretty peppermint sugar cubes from left over candy canes.  Great idea right? Perfect for a tea party!  I had a tiny ice cube tray, a blender, and lots of leftover candy canes already in the house so I had nothing stopping me.  It seemed to be working out until I added water...then the blender wouldn't move and I had big chunks of hard sugary nuggets threatening to break my blender for good.  So I scrapped it all out into a bowl and began mixing it with my hands adding more water.  It was moist like the tutorial said it would be so I figured I was done.  I put my minty goo into the ice cube tray and let it sit for the day to dry...and then the night... Nothing happened.  All I was left with was wet sticky candy cane goo in an ice cube tray that I eventually threw away.  Total fail.  I guess I added to much water, blended too much, but really ...  I think you need candy molds to make this worth the effort...and who has those?


So ya, that was the last crafty thing I did.  I was so disappointed, I went to Value Village to cheer myself up.  They didn't have one pretty dish or tea cup to speak of!  What the shit?  I did manage to score an awesome kids vintage toboggan for my future child..but since I don't have a child nor am I expecting one anytime soon...this purchase won't give me the immediate satisfaction I was seeking...sigh.

BUT, another weekend is upon me and hopefully with it will come some creative juices...

So stay tuned! Thanks for reading.... Pin It

Monday, November 14, 2011

Aunty Lorraine's Christmas Legacy!

 I consider myself a crafty person, as you know... but I've got nothing on my Aunty Lorraine.  She has patience that I can't even fathom and the proof is in the project I am about to share with you.  A project that has been blowing minds all over the Niagara region.

While most of us were enjoying the last rays of summer not daring to even speak of winter let alone prepare for Christmas my Aunty Lorraine was tirelessly spending days and nights working on the Christmas craft that would be the end to all  Christmas craft endeavors because nothing could ever top this.  She said it almost killed her, and I believe it, but I think you'll agree that it was well worth the blood, sweat and tears.

Behold!


 A Christmas Tree made of costume jewellery!

It's hard to capture the magnitude of this tree in pictures...but my god!  There must be a thousand pieces of jewellery on this thing and she took each piece apart and glued it to the velvet backing.  She's got mini lights poked through the back to illuminate it and it's all framed by a massive gold frame my mom found on the side of the road.  (She lost her mind when my mom brought it to her) lol.  She's a passionate women.


She wasn't prepared for a photo op as hard as I tried to convince her, but she agreed to let me take a picture of her favourite self portrait... from just a few years ago... ; )

So here she is, The Queen of Craft....


Amazing work Aunty Lorraine, amazing!

Thanks for reading!
Pin It

Monday, October 24, 2011

Sick Day...

So last week I left work in a hurry not feeling well at all, got home, put on my sweatpants, turned on the kettle, made myself some tummy soothing tea, filled up my water bottle and parked it on the sofa.  This was my station for a good three days...


 kind of brutal to be stuck at home and hurting, but all was not lost.  I finally conquered the granny square!!  James' mom had given me a lesson so I wasn't totally in the dark, so in between episodes of Being Erica, naps, and soup...I was able to make a bunch of these darling squares!  Check em out...


Now, hopefully I can make a blanket before spring... : )

I'll keep you posted...
Pin It

Tuesday, September 6, 2011

Autumn Craft: Velvet Pumpkins!

So maybe I'm jumping the gun here but I came across a picture on the net somewhere of velvet pumpkins and I instantly thought of my mom.  She's always had a knack for creating really pretty seasonal displays and if I had to choose a fabric to best describe her, it would be velvet, hands down. Perfect opportunity for a.... Create- A- Date!  

We went down to Fabric Land to pick up some velvet.  Too expensive!  So we went with some variations...stretch velvet, some silky stuff that looked like velvet and cotton velvet.  Verdict: They all looked good, but the least amount of stretch and the thinner fabrics had the better results...

What you'll need:
Velvet, or another material of your choosing
Scissors
Strong thread 
Needle
Pumpkin or Squash Stem - or another material to use as a stem.  (We used rhubarb root and gnarly sticks because we didn't have enough pumpkin stems to go around but pumpkin stems look the best)
Rice 
Bowl 
Funnel (optional)
Glue gun (optional)


Step 1: Trace a circle using your bowl.
(the bigger the circle the bigger your pumpkin)

Step 2: Cut out the circle

Step 3: Sew along the edge of your circle, right side facing down  leaving a long tail like in the below picture.  (Gather the fabric as you go)

Step 4: Pull both ends of your thread to gather the fabric into a little sack leaving two long tails.

Step 5: While being careful not to lose the two ends of thread(tails), pull the bag open wide enough to fit a funnel in the opening and begin filling the bag with rice.  (you don't need to use a funnel, but it's the least messy method)


Step 6: Once it's fully filled, carefully remove the funnel and pull both ends of thread to close the opening and tie it in a knot.  You'll have a small opening at the top for your stem to fit into or glue over...

Step 7: Glue your stem on top with a hot glue gun, or carefully insert it in the opening.  If you have your stem stuck in the opening, be careful not to tip it over. It's best just to glue it on top but since I didn't have enough pumpkin stems, I wanted to be able to leave them unglued so I can replace my sticks and roots with pumpkin stems as they become available.  

with pumpkin stem

I think they look pretty awesome!


So there you have it...the first craft of the fall season!

If you decide that this craft is for you, I want to see it!  Send me a picture to: thefarmersonlydaughter@gmail.com

Thanks for reading!
Love Desiree
xo


Pin It

Sunday, March 20, 2011

Create-A-Date: A Floral Crown DIY

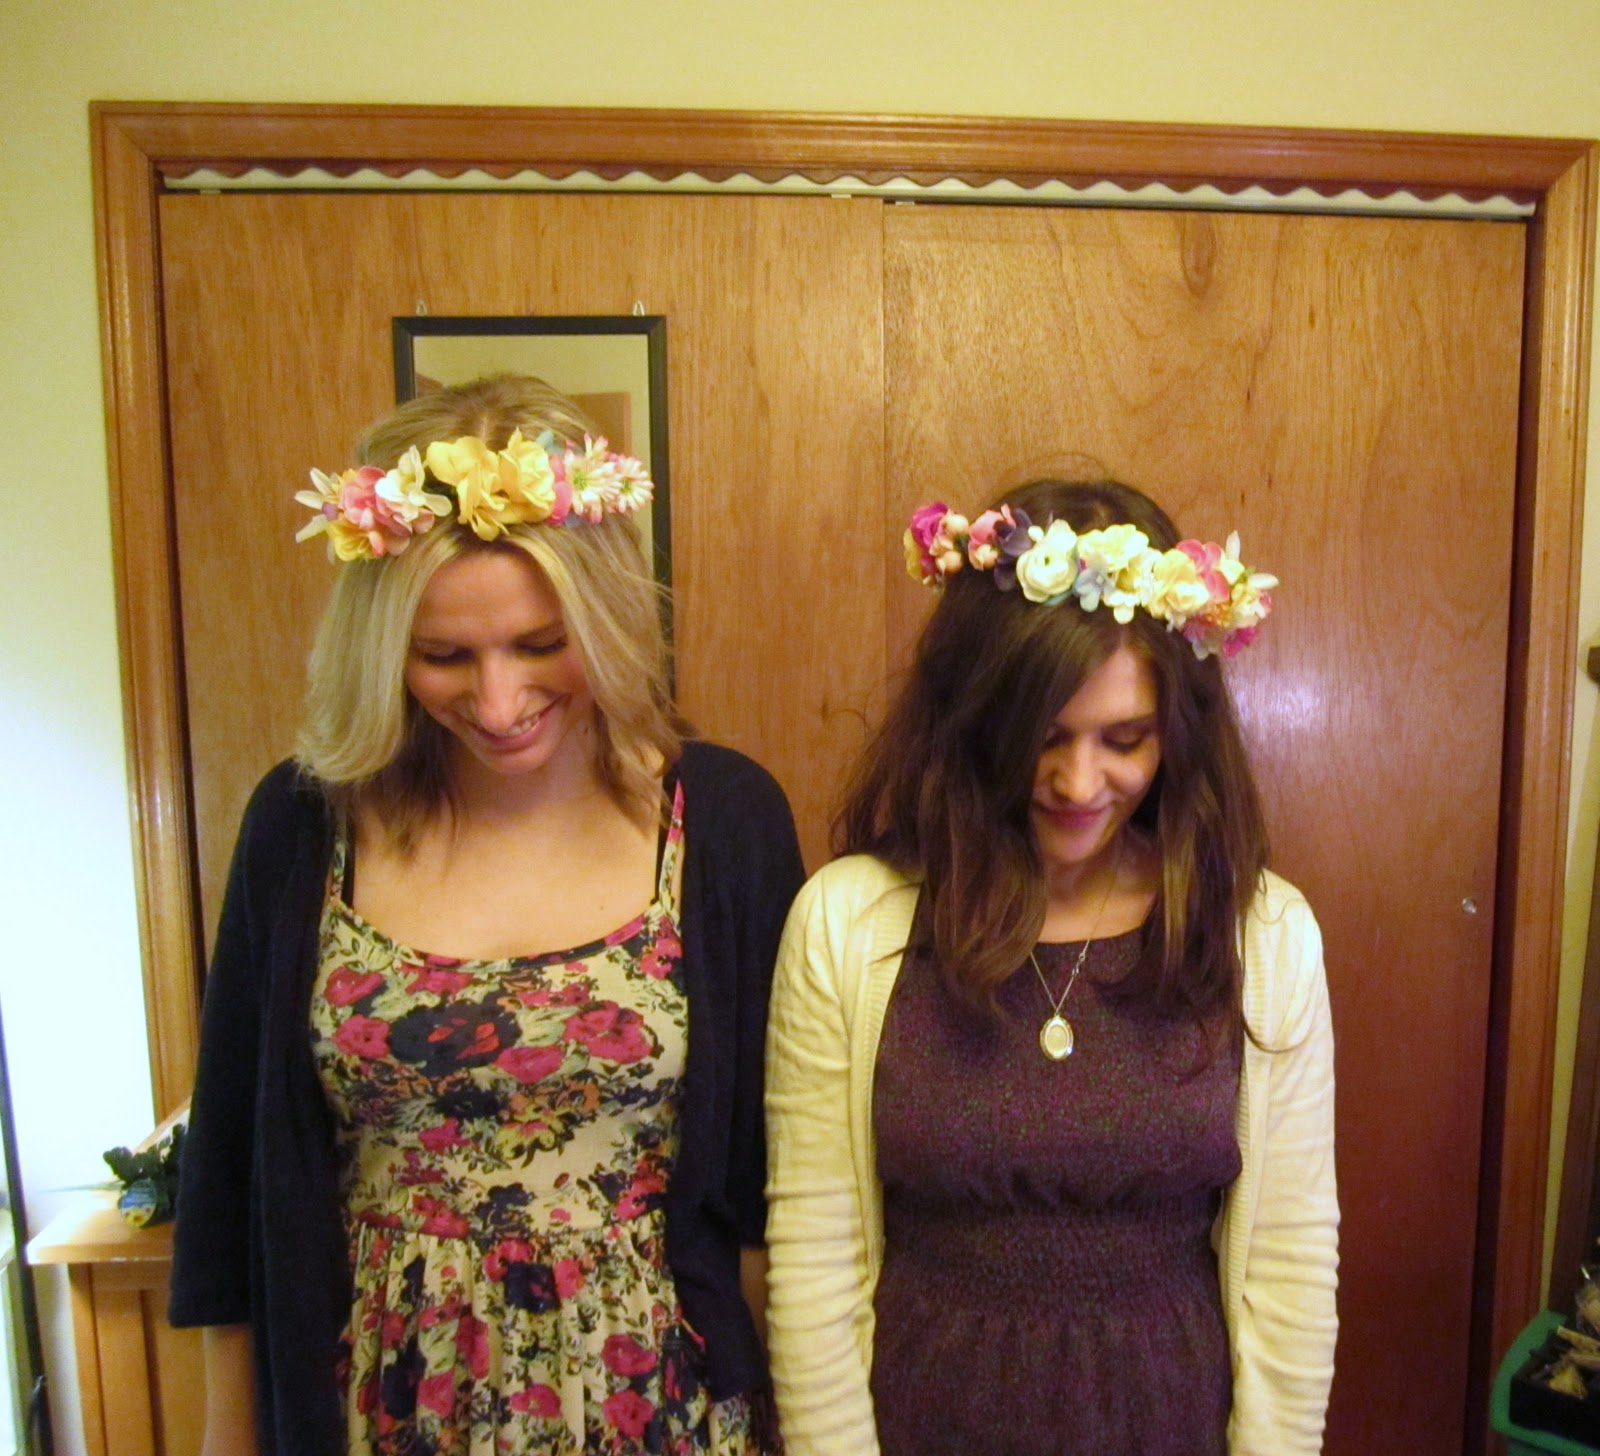
Last night was the last night of winter, thank god!  A perfect reason to celebrate... so I threw a party, a welcome spring party!  It was a floral affair and beforehand I had my first ever create-a-date with the lovely Jill from Jillery to create some floral accessories for the occasion.  We made floral crowns and some floral bracelets for the ladies.

Here's a how-to so you can make a floral crown at home...

Here's what you're gonna need:

-Floral tape  
-Floral wire
- Pliers
- Scissors
- Selection of fake flowers

All these materials can be found at any craft store.  We bought our flowers at Dollarama.


Step 1 - Make the base of your crown.  
Unravel your wire to measure a circle around your head the size you want your crown to be.  Unravel three more lengths of wire to make it sturdy and twist it all together.  Twist the ends together to connect the circle.


Step 2 - Add flowers.
Take a flower and a 10cm piece of wire and wrap it to your crown base.  Continue doing this until your crown looks like you want it to look.  We left a gap at the back flowerless and wrapped it with floral tape to finish it off.


And here they are, our crowns!


Same process for the bracelets.  It was such a colourful soiree!


Happy crown making!

Thanks for reading....

Love Desiree


Pin It